Performance Tips and Tricks
Having issues with Project Zomboid running slowly or giving you bad FPS in seemingly normal locations? Here is a collection of the tips and tricks that we use to help make the game run better for us. We hope these help you to enjoy the game more!
For a lot of these changes, if you Verify Game Files, it will undo these changes. Remember to come back and repeat these steps.
BetterFPS
BetterFPS is a standalone mod that can be downloaded and installed on your client. It doesn't install itself automatically, so you need to do a quick manual step to get this to work.
Subscribe to the BetterFPS mod and download the latest version yourself:
https://steamcommunity.com/sharedfiles/filedetails/?id=3022543997
The guide on how to install the mod is on the mod page itself, but I'll my own one here as well:
You will need two folders; your own "zombie" folder and your downloaded BetterFPS folder. The default paths are below.
C:\Program Files (x86)\Steam\steamapps\common\ProjectZomboid\zombie
C:\Program Files (x86)\Steam\steamapps\workshop\content\108600\3022543997\mods\BetterFPS\media
In the BetterFPS media folder, there are several subfolders. Choose the one most relevant to your display resolution, or if you're having performance issues, choose the next one down.
Inside each of those folders is a \zombie\iso folder, you can copy the whole \zombie\ folder and paste it in your \ProjectZomboid\ folder above. Choose to Replace the "IsoChunkMap.class" file.
That's it! You now have BetterFPS installed.
Increase RAM Allocation
The standard settings only provide 3GB of RAM to the Zomboid instance which typically isn't enough to run our heavily modded server, especially under event-level zombie numbers. You can increase your RAM allocation with the following steps.
There are two solutions to this issue, both done in the same location. Navigate to your \ProjectZomboid\ folder, the default path is:
C:\Program Files (x86)\Steam\steamapps\common\ProjectZomboid
Look for the ProjectZomboid64.json file and open it in a text editor.
Scroll down in the text file to a section "vmArgs" and remove this line:
"-Xmx=3072",Save your changes to the file (you can't save the changes if Zomboid is currently running, so close it and save again).
Now when you run Project Zomboid, the game will automatically take up as much RAM as it requires.
If you prefer having a minimum or maximum set for Zomboid, you can change the values to anything else you prefer, though that's usually a more advanced approach. The one documented above should work fine for any system of any capability.
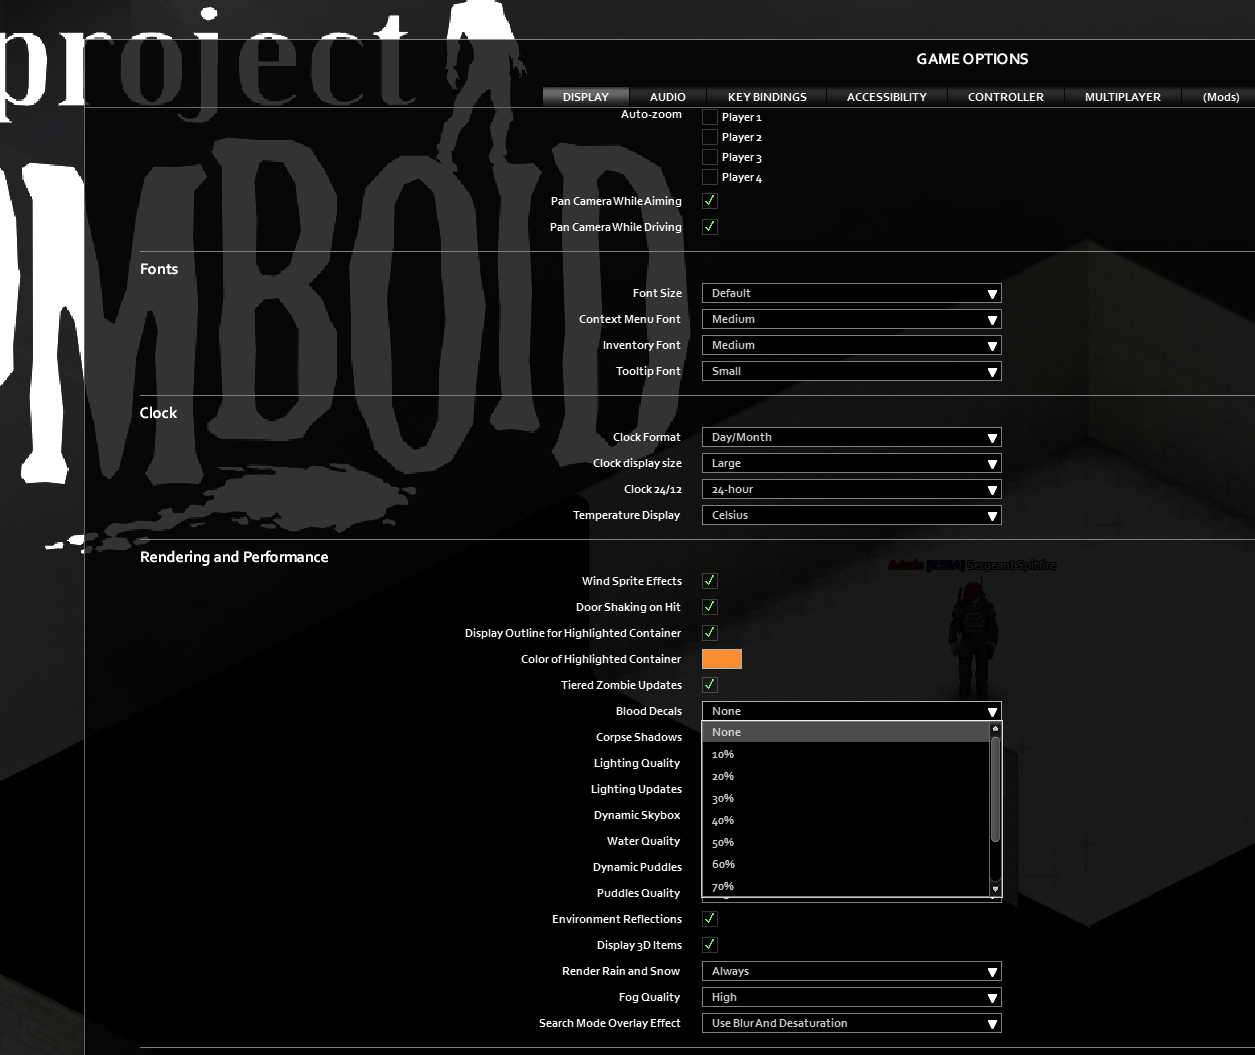
Remove Blood Decals
Zomboid is really bad at rendering blood in the game. Each of the blood sprites takes up an insane amount of RAM, so it's best to just disable it completely. Here's how you can do that.